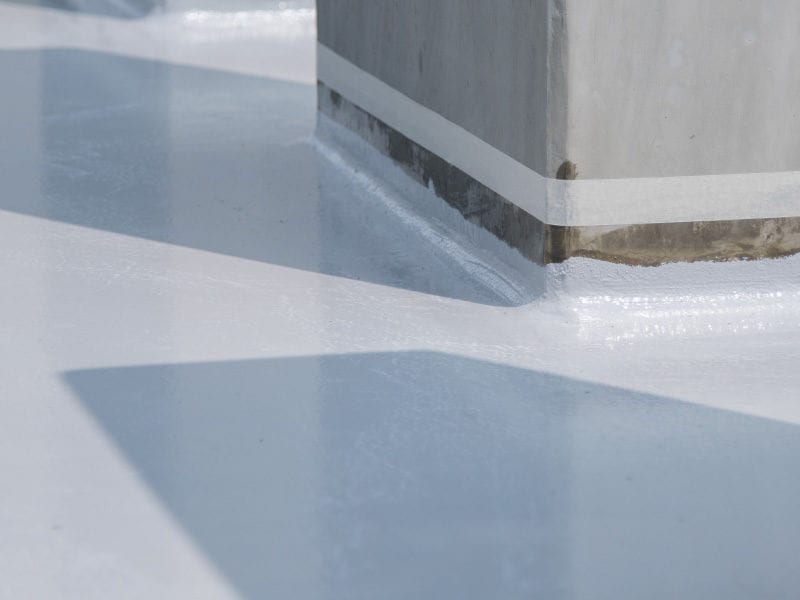
What is edge coving?

Edge coving is a sealed, curved strip of material that conceals the sharp edge between the wall and the ceiling, or the wall and the floor. It is essentially an arched section joining a vertical wall to either the ceiling or the floor. It adds that finishing touch to a room that would otherwise look unfinished. Edge coving creates a seamless transition from the floor or ceiling to the wall, and results in a smooth and impervious surface.

Coving can be made from plaster, wood, stone, polystyrene, duropolymer, epoxy or cement.

Edge Coving On A Pillar
What is edge coving used for?

Edge coving has more than just a decorative purpose. It also:

  • Changes the look and feel of a room
  • Helps prevent moisture build-up
  • Eliminates hiding places for insects and bacteria
  • Makes for an easily cleaned and disinfected surface
  • Covers the transition between surfaces
  • Is often required in many food and pharmaceutical applications
  • Helps seal natural joints
  • Changes the look and feel of a room
The advantages of edge coving

Edge coving is a very popular choice in houses, workplaces and retail facilities. It’s attractive, useful and practical. Some of the benefits of coving include:

  • Coving comes in many different materials and styles, giving you a great deal of choice. You can select minimalist, lightweight coving, or more ornate and elegant coving, and everything in between.
  • It’s a simple way to create a fantastic and custom finish to your room, by adding a professional and seamless look.
  • Coving allows you to add different colours, finishes and features to your décor, thus creating contrast and interest.
  • Coving size can vary to accommodate different applications.
  • Floor coving is useful in showers and wet areas to create a seamless transition zone between the wall and the floor. It prevents water from going under walls.
  • Coving can be added on top of existing floor, wall and ceiling joints.

FAQs

To fit ceiling coving, marking lines will be added to the wall and ceiling to show where the coving should be placed. The coving, if not pre-prepared, will need to be cut to size. Adhesive will be applied to the coving, which is then fitted in place. Once the excess adhesive has been removed, filler will be added, and corners and mitres may be cut.

To fit cove skirting (coving between the floor and the wall), adhesive will be used to attach the skirting to the wall. External and internal mitred corners may also be created by making special cuts in the coving material.

The length of time required to apply coving will vary greatly depending on the size of the room, and the number of rooms to be fitted. Please contact us for an obligation-free inspection and quote.

While edge coving can be done as a DIY job, it’s a fairly involved one. You will need to know what you’re doing, as well as having the specific tools needed for the job. You’ll need to make sure that the wall measurements are accurate and that the coving cuts are made correctly and in the right direction. It can be confusing and challenging – particularly in rooms with oddly angled corners. Consequently, it’s usually better to call in the professionals, otherwise you run the risk of your job looking less than ideal. Skilled labour is necessary when installing coving, in order to create a perfect seal between the transition.

Contact Us For A Quote

Lloyd Specialised Coatings is large enough to handle any enquiry yet small enough to ensure that you receive a personalised tailored service. Whether your job is internal, external or both, we will provide an itemised quote for all of our services.